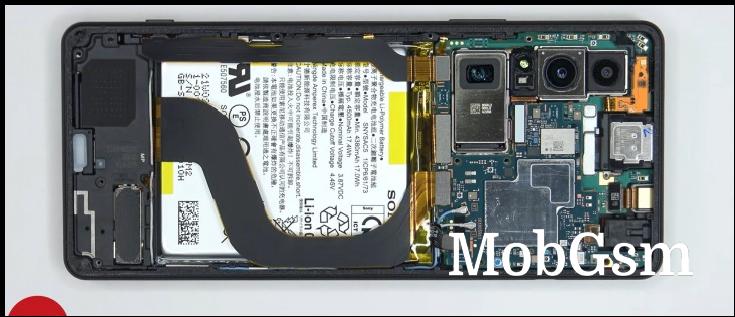
Sony Xperia 1 III earns a 6/10 repairability score in disassembly video

The Sony Xperia 1 III looks pretty old-school on the outside, but the inside is layer upon layer of modern components. What if one of them breaks? It will need to be replaced and the video below shows the disassembly process step by step.
Sony didn’t do anything too crazy, everything is held down by Philips screws and a moderate amount of glue. However, there are multiple layers tied together with flex cables, which need to be taken apart.
The good news is that if you need to replace the display, you only need to take apart the bottom assembly to reach the screen’s flex cable, you don’t have to fiddle with the top assembly with the dual-layer motherboard. You should also be able to get to the battery without removing too many components.
Other things to note in this video are the rubber gaskets that help give the phone its IP68/IPX5 rating. For thermal management, there are graphite and copper films plus thermal pads that guide heat away from the chipset and battery and towards the metal mid-frame of the device.
PBKreviews gives the Xperia 1 III a repairability score of 6/10 since disassembling some components can be rather finicky and take a while.


